Mastering the 3D Layered Decorative Butterfly Papercut for Professional Results
There is a distinct difference between a flat paper cutout and a piece that truly commands attention. The 3D layered decorative butterfly papercut represents the latter, offering depth, shadow, and a tactile elegance that flat designs simply cannot achieve. Whether you are designing nursery art, crafting high-end greeting cards, or creating personalized home decor, understanding the nuances of this medium is essential. Many creators rush into cutting without fully appreciating the technical requirements, leading to frustration and wasted materials. This guide aims to correct common misconceptions and provide a clear path to mastering these intricate designs.
Understanding the Complexity of Layered Designs
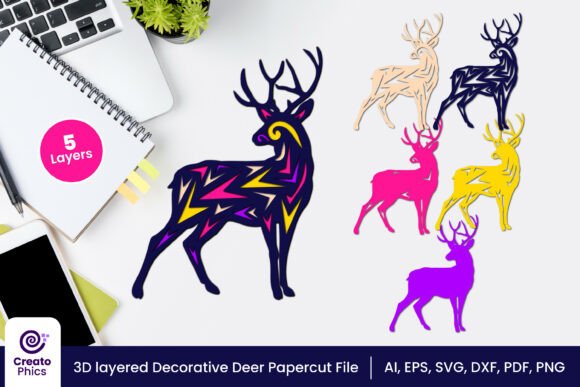
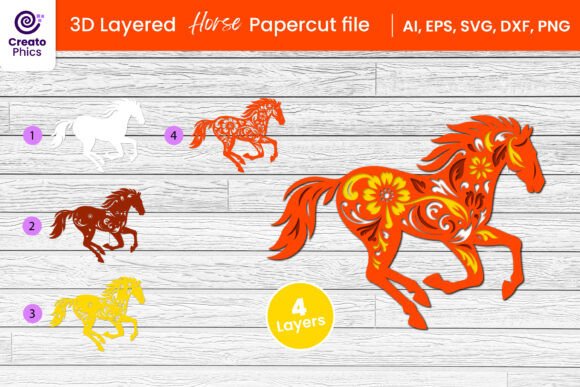
At first glance, a butterfly design may seem straightforward. However, a true 3D effect relies on precise spacing and accurate layering. When you download a 3D layered decorative butterfly papercut file lasercut SVG, you are not just getting an image; you are receiving a blueprint for construction. Each layer must align perfectly with the one beneath it to create the illusion of depth. Beginners often overlook the importance of registration marks or alignment guides, assuming that visual estimation is sufficient. This is a critical error. Even a millimeter of misalignment can break the illusion, making the final piece look messy rather than masterful.
To avoid this, always check if your file includes alignment aids. If you are using a laser cutter, ensure your machine’s bed is calibrated correctly. For hand crafters, use light boxes or precision tweezers. The goal is seamless integration of layers, where the transition from one shade or texture to another feels intentional and smooth.
The Pitfall of Ignoring File Formats
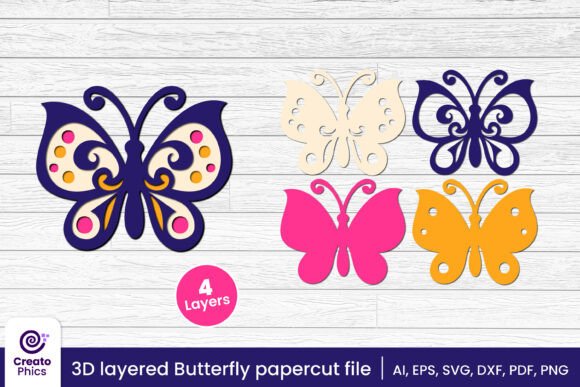
One of the most frequent mistakes buyers make is downloading the wrong file format for their specific tool. A comprehensive package should include multiple formats, such as EPS, PDF, AI, SVG, DXF, and PNG. Yet, many users attempt to use a raster image like a PNG for vector cutting, or vice versa. This leads to poor edge quality, jagged lines, and inefficient cutting paths.
- SVG and DXF: Ideal for electronic cutting machines like Cricut or Silhouette. These formats preserve vector paths, ensuring clean cuts regardless of size.
- AI and EPS: Best for professional graphic design software and industrial laser cutters. They offer scalability without loss of quality.
- PNG: Useful for digital previews or sublimation printing, but not for cutting intricate layers unless used as a trace reference.
Before you begin, verify that your software supports the file type you intend to use. If you are a DIY enthusiast working with a home cutter, the SVG format is typically your best friend. It is lightweight, widely supported, and easy to manipulate. Professionals using industrial lasers should prioritize AI or DXF files for maximum precision. Using the wrong format does not just affect quality; it wastes time troubleshooting software errors that could have been avoided with proper preparation.
Material Selection Matters More Than You Think
A common misunderstanding is that any paper will work for 3D layering. In reality, the weight and texture of your material dictate the success of your project. Cardstock that is too thick may not fit into standard home cutters, while paper that is too thin may tear during the weeding process or fail to hold its shape when layered. For a 3D layered decorative butterfly papercut, aim for cardstock between 65lb and 80lb. This range offers enough rigidity to stand out in layers but remains flexible enough for intricate details.
Additionally, consider the color contrast between layers. A frequent oversight is choosing colors that are too similar, which diminishes the 3D effect. To enhance depth, select shades that offer clear distinction. For example, pairing a deep navy base with lighter sky blue layers creates a striking visual gradient. Test your color combinations digitally before cutting to ensure the final assembly delivers the desired impact.
Assembly Techniques for a Polished Finish
Cutting is only half the battle; assembly is where the magic happens. Many crafters rush this stage, using excessive adhesive that warps the paper or leaves visible residue. Instead, adopt a meticulous approach. Use double-sided foam tape or precision glue dots to create physical space between layers. This spacing is what generates the shadow effects that define 3D art.
Start from the background layer and work your way forward. Align each subsequent layer carefully, checking from multiple angles to ensure symmetry. If you are creating a large piece for wall decor, consider mounting the final assembly on a rigid backing board to prevent sagging over time. For greeting cards, ensure the layers do not add excessive bulk that prevents the card from closing properly. Practical testing is key here; assemble a prototype with scrap paper before committing to your final materials.
Maximizing Value Through Versatility
When you invest in a high-quality design file, think beyond a single application. The same 3D layered decorative butterfly papercut file can be scaled down for jewelry embellishments, enlarged for nursery wall art, or adapted for wedding invitations. Do not limit your creativity to one project type. By adjusting the scale and material, you can create a cohesive brand aesthetic across various products.
For entrepreneurs and small business owners, this versatility is a significant advantage. You can offer personalized gifts by changing colors to match client preferences or seasonal themes. A butterfly design in pastel tones suits a baby shower, while metallic gold and black versions appeal to elegant evening events. Understanding how to adapt one core design for multiple markets increases your return on investment and expands your creative portfolio.
Final Checks Before You Cut
Before sending your file to the cutter or picking up your craft knife, perform a final review. Check for open paths in vector files, ensure all layers are grouped correctly, and verify that no tiny details are too small to cut cleanly. Preview the cut path in your software to identify potential issues. This proactive step saves material, time, and frustration.
Remember, crafting with precision tools requires patience and attention to detail. By avoiding common pitfalls such as incorrect file usage, poor material choices, and rushed assembly, you elevate your work from amateur to professional. The 3D layered decorative butterfly papercut is more than just a design; it is an opportunity to showcase skill and creativity. With the right approach, your projects will not only look stunning but also stand the test of time.
Whether you are a beginner taking your first steps into layered paper art or a seasoned professional refining your technique, these insights will help you achieve better results. Embrace the learning process, experiment with different materials, and let your creativity flourish. Happy crafting!